
There is no need to spend money to hire a professional artist, because there is a trick to convert photos into pencil drawings in Photoshop. This is also one of the simplest tricks you can practice using Photoshop. Let's find out more details together!

Step 1
Choose File -> Open to add the image you want to turn into a pencil drawing into Photoshop software.
Then drag and drop the Background to duplicate the Background.
Step 2
Right-click the Create new fill or adjustment layer tool and choose Black & White.

Step 3
Next, keep the default sliders and choose to exit the Black & White Properties window to convert the color image to black and white.

Step 4
Click on Background copy and then select Color Dodge to create contrast for the black and white image.
Step 5
Then, choose Image -> Adjustments -> or use the quick Ctrl + I key combination.
Step 6
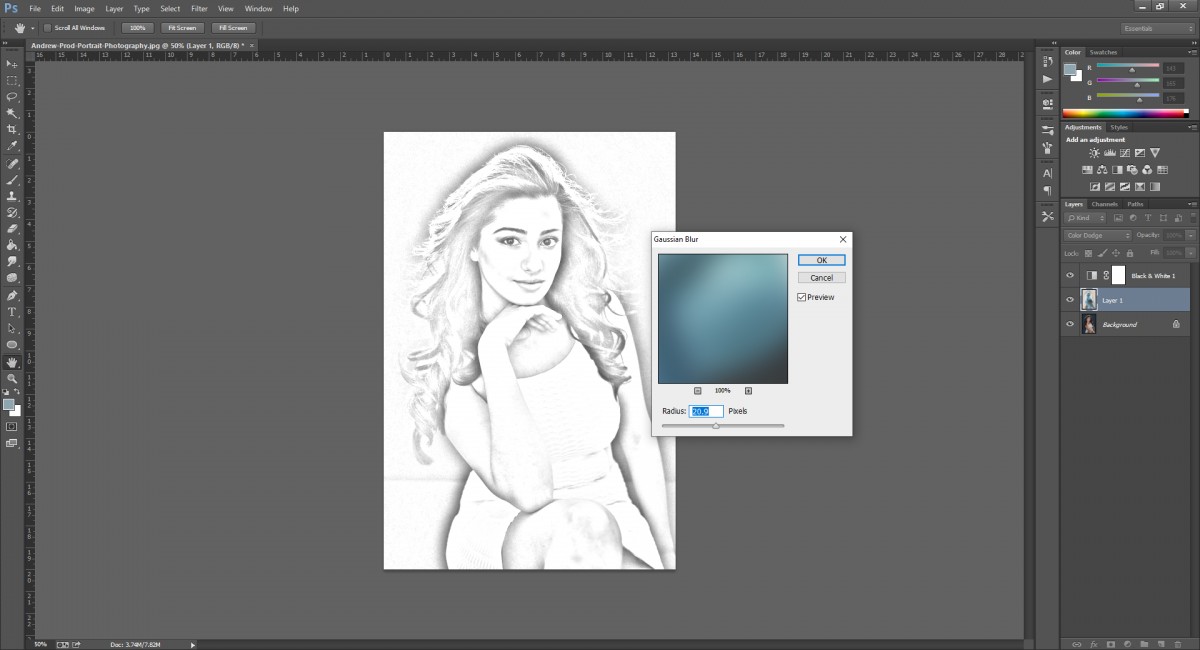
Choose Filter -> Blur -> Gaussian Blur. After the Gaussian Blur window appears, drag the slider to the desired pixels and then click OK to finish.
Step 7
Before saving the image file, you need to merge the 3 layers above by holding down Ctrl and clicking on the layers and then pressing Ctrl + E to do it. Here you can save the image file and admire the result.

Note: To get the most beautiful and perfect pencil drawing, you need to choose a picture as sharp as possible and with less complicated details if possible!
Some tips to make your pencil drawing more perfect
Change the color of the pencil to make the painting more "disruptive"
When you click on the Fill adjustment layer option, you can change the Black & White mode to Color and then change and adjust the lead color and opacity to suit your taste.
Insert a pencil drawing into an art sketch easel
Step 1
Choose File -> Open to the image file of the artist painting in Photoshop, then double-click on the Background -> select OK in the New Layers frame to convert the Background format to Layers.
Step 2
Use the Magic Eraser Tool to erase the solid color area of the canvas, and the Eraser Tool to erase the small details and remnants.
For multicolored and blended photos, you can use the Magnetic Lasso Tool to make a selection and then press Delete to delete.
Step 3
Next, go back to the newly created pencil drawing and press Ctrl + A, then press the V command key to move the pencil drawing to the new shape.
Step 4
Then, hold the mouse and drag the pencil drawing Layers below Layers 0. Press Ctrl + T and then right click on the image. Select Distort to align the four corners of the image to fit the frame of Layers 0, then press Enter to save the operation.
Note: The more carefully you align, the more realistic it will feel.